Page-Level Annotations
- Support Center
- Content Inventory
Page-Level Annotations
We developed our Annotations feature initially to give you the ability to add event details and visual markers to your Content Inventory project. Now we took Annotations a step further by adding a page-level version for you to describe something that’s happened to a specific piece of published content.
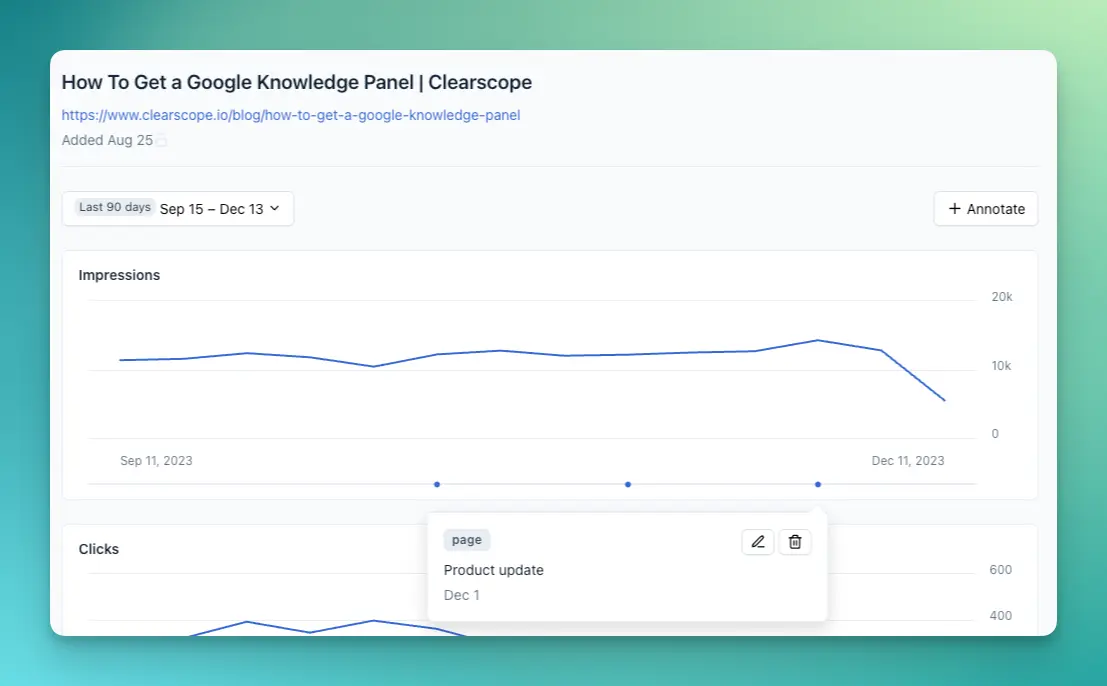
Page-level annotations appear on each of the Content Health charts located on the individual Content Inventory page: impressions, clicks, and average position.
How do I add, edit, and delete Page-Level Annotations?
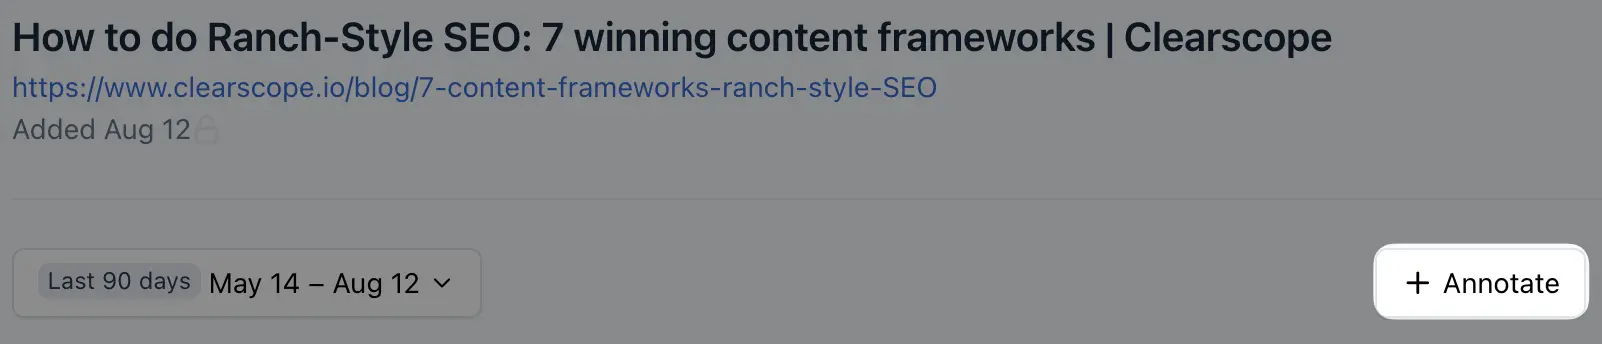
1. Go to your Content Inventory screen and click the title of the published content you want to annotate

Select Content Inventory page title
2. This will bring you to the individual Content Inventory page with its impressions, clicks, and average position charts. Select the “+ Annotate” button to add details to a date.
Page-level annotation button
3. Enter details into the “Note” text box and select a date from the calendar drop-down to add an annotation.
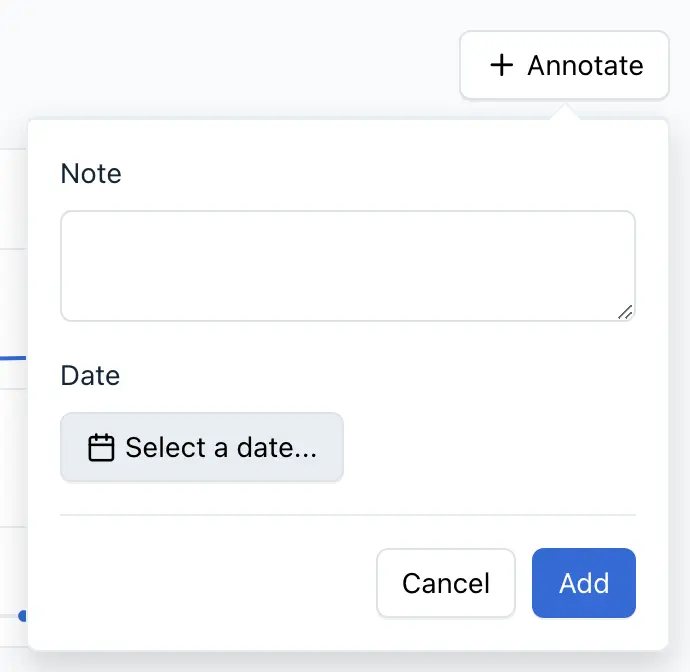
Enter details for a page-level annotation
4. You will see your annotation appear beneath the spark line corresponding to the date you entered
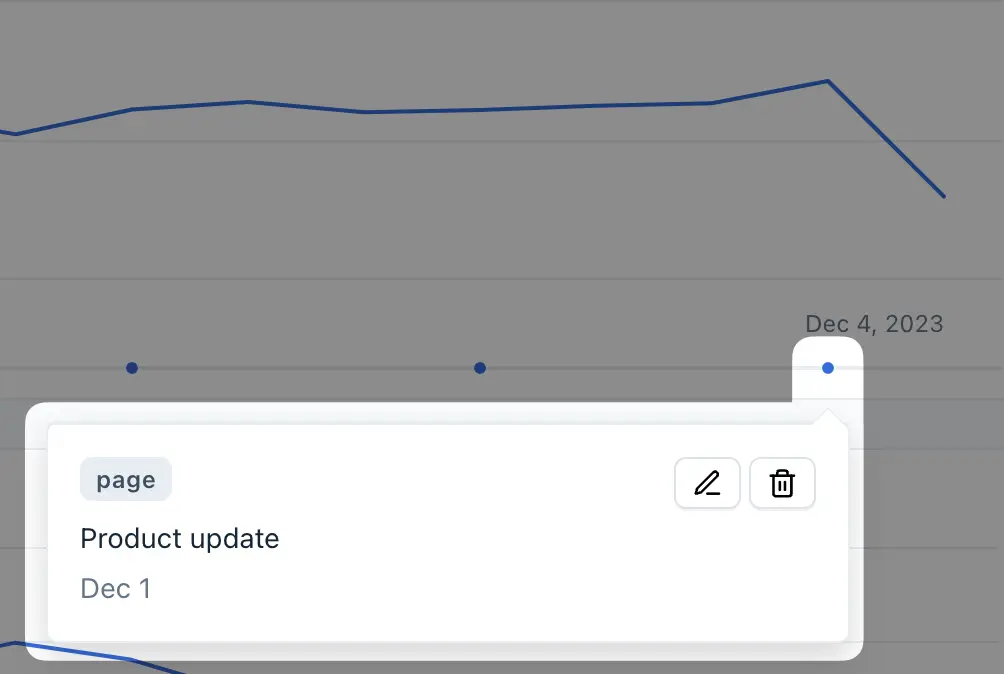
Page-level annotation view
5. To edit an annotation, select the icon of the pen writing. Make any adjustments to the annotation and select the “Save” button.
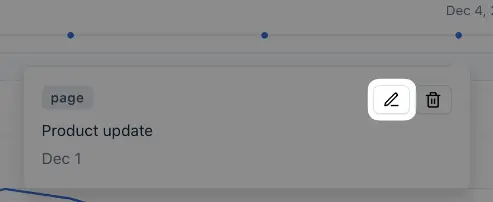
Edit annotation button
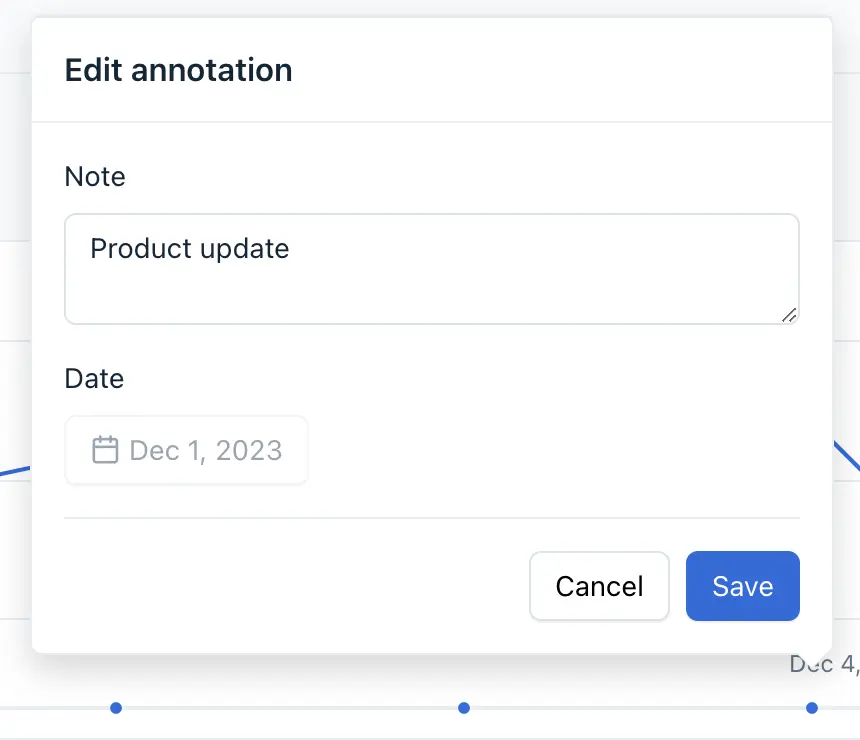
Edit annotation view
6. To delete an annotation, select the trash can icon. That annotation will be removed from your Content Health chart as a result.
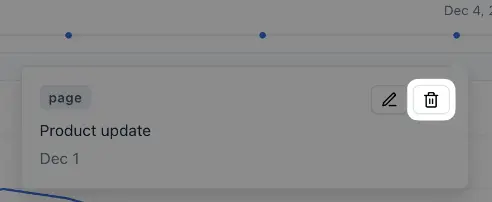
Delete annotation button