Getting Started: Content Inventory
Content Inventory helps you monitor and track the performance of your existing library of content within Clearscope.
It’s your starting point in Clearscope to audit and assess your existing content.
And it’s also where you’ll come to monitor and refresh content as it ages.
Your Content Inventory is designed to empower you to take proactive measures to ensure existing content maintains or increases in important metrics such as Content Grade, clicks, average position, and SEO value.

How do I start using Content Inventory?
In order to get up and running with Content Inventory, follow these steps:
1. From the Clearscope Home page, select the Pages tab underneath Content Inventory on the left-sidebar menu.
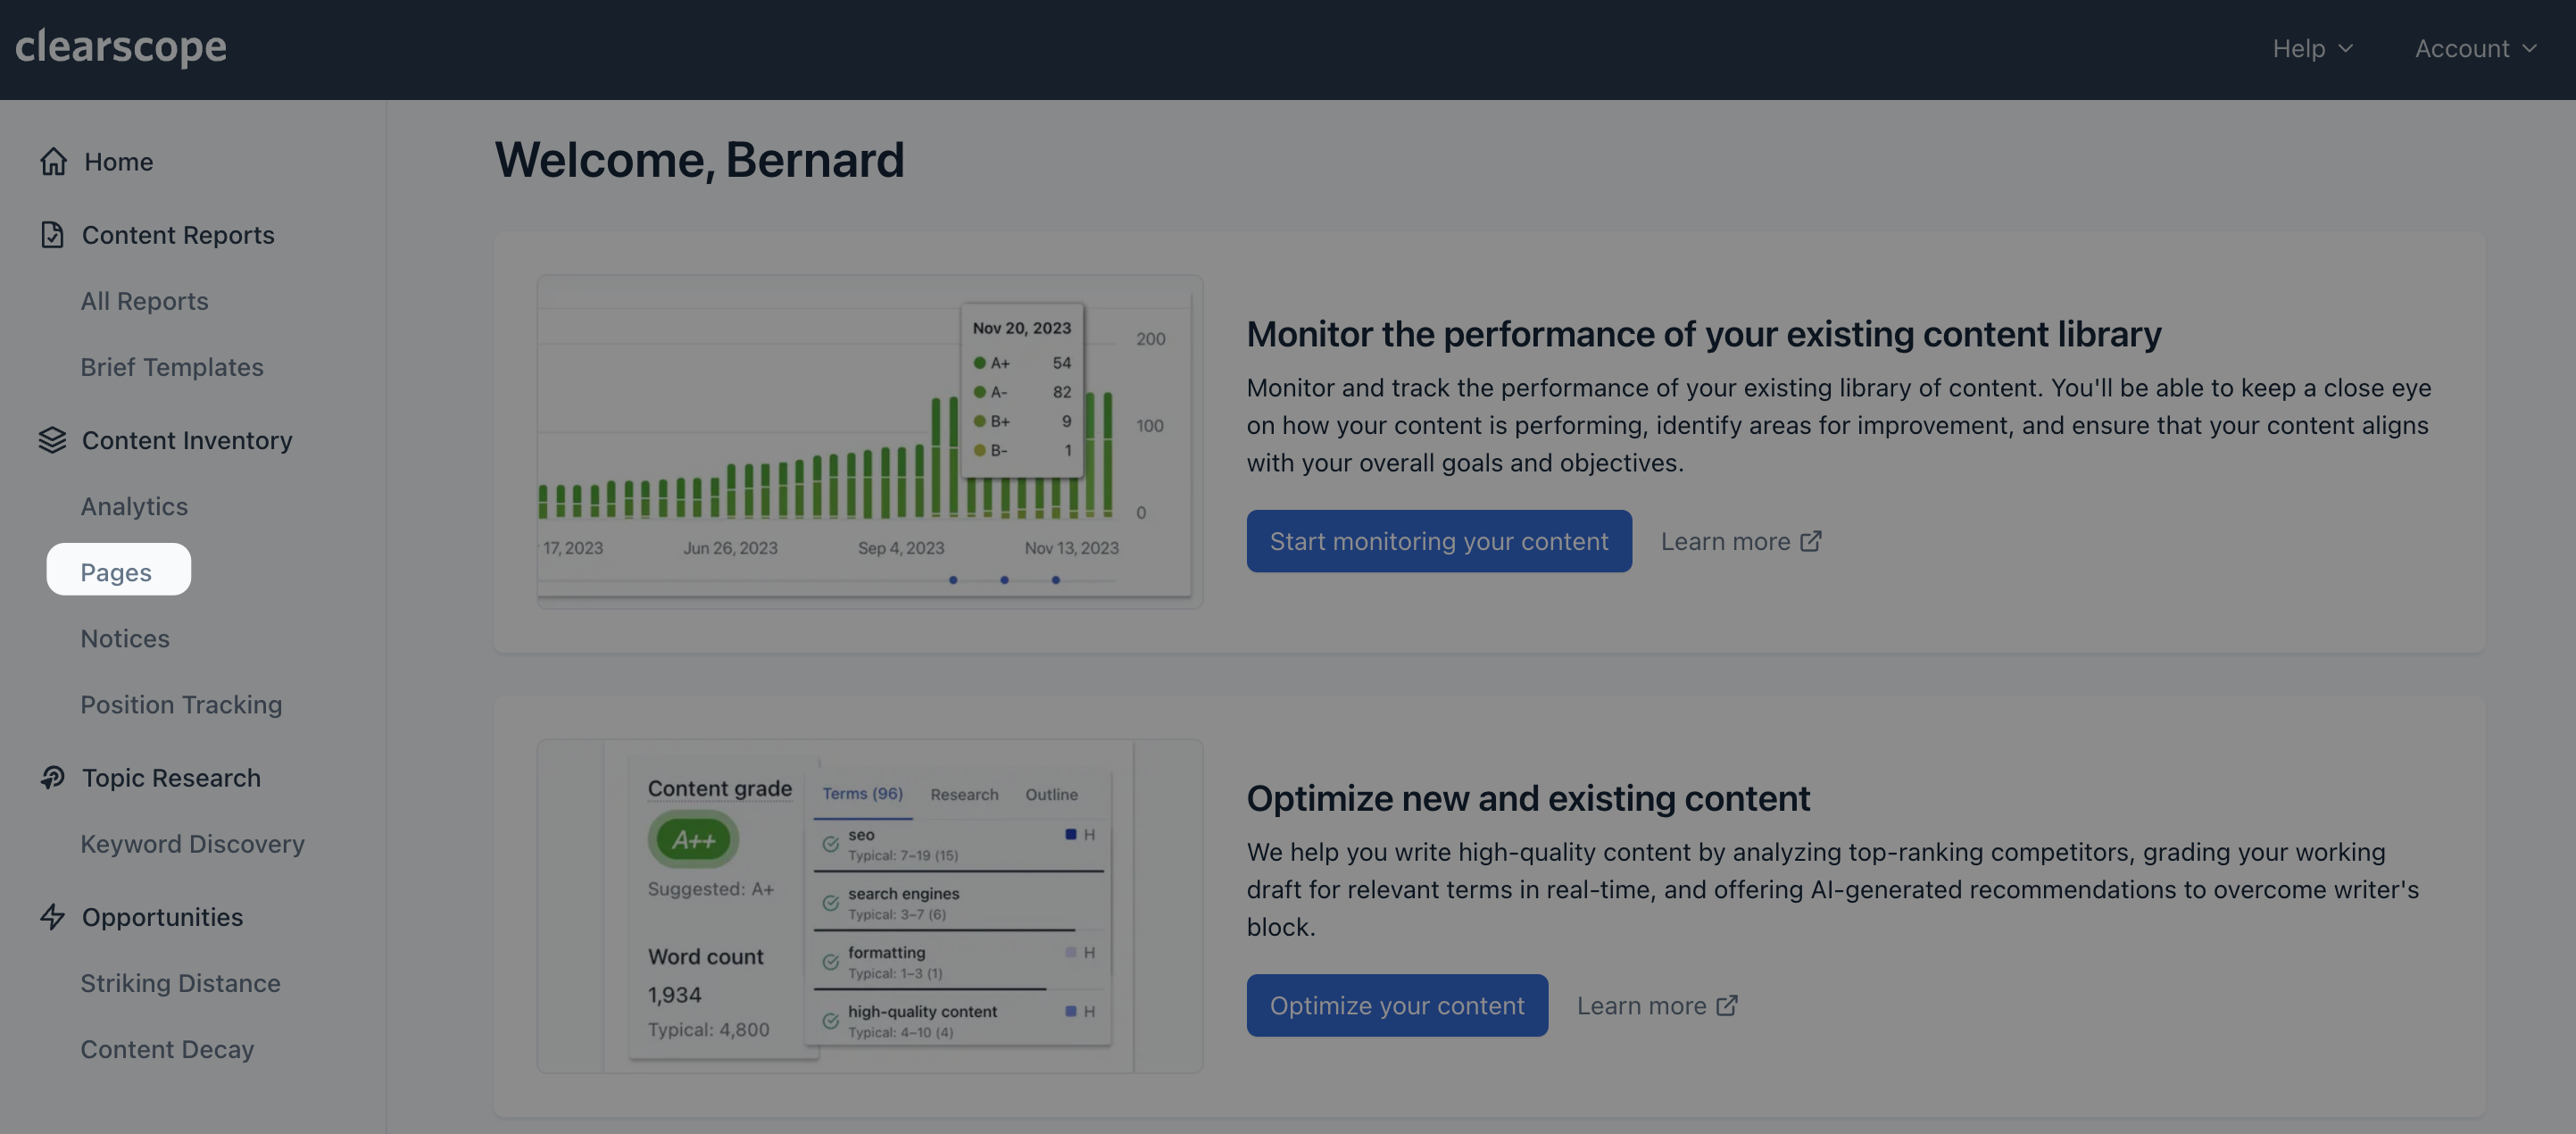
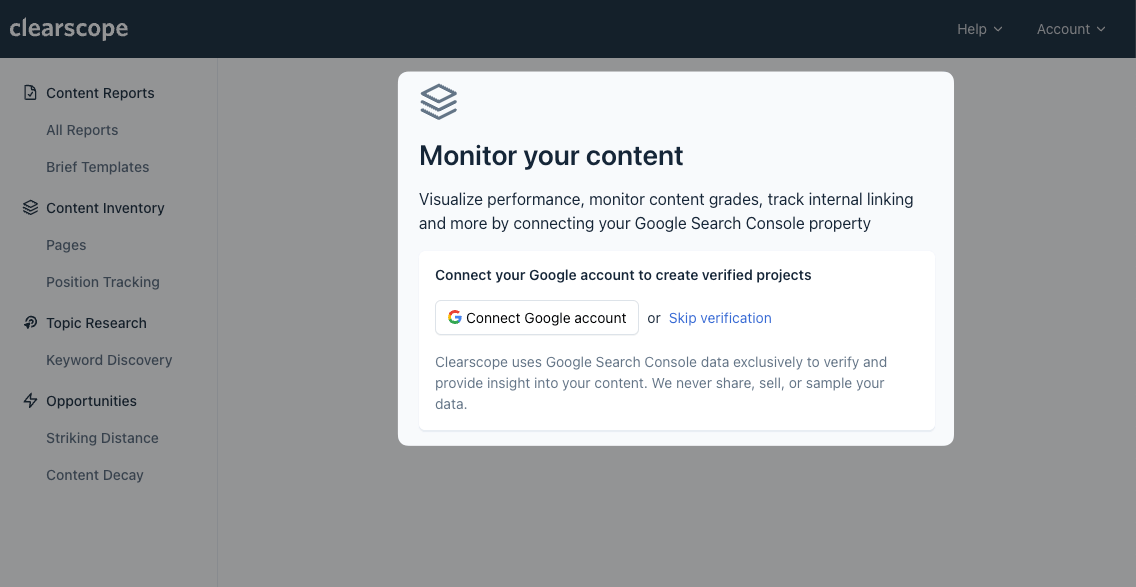
2. Start monitoring your content by connecting your Clearscope project to a Google Search Console (GSC) property.
Select the "Connect Google Account" button to verify the property.
3. Complete the Google sign-in authorization.
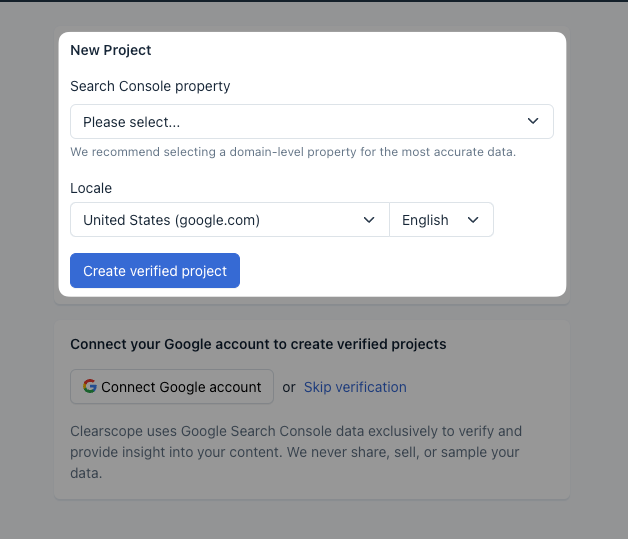
4. You will then be prompted to create a new Clearscope project that's associated with a GSC property you have verified.
Select the corresponding GSC property and locale then click the "Create verified project" button.
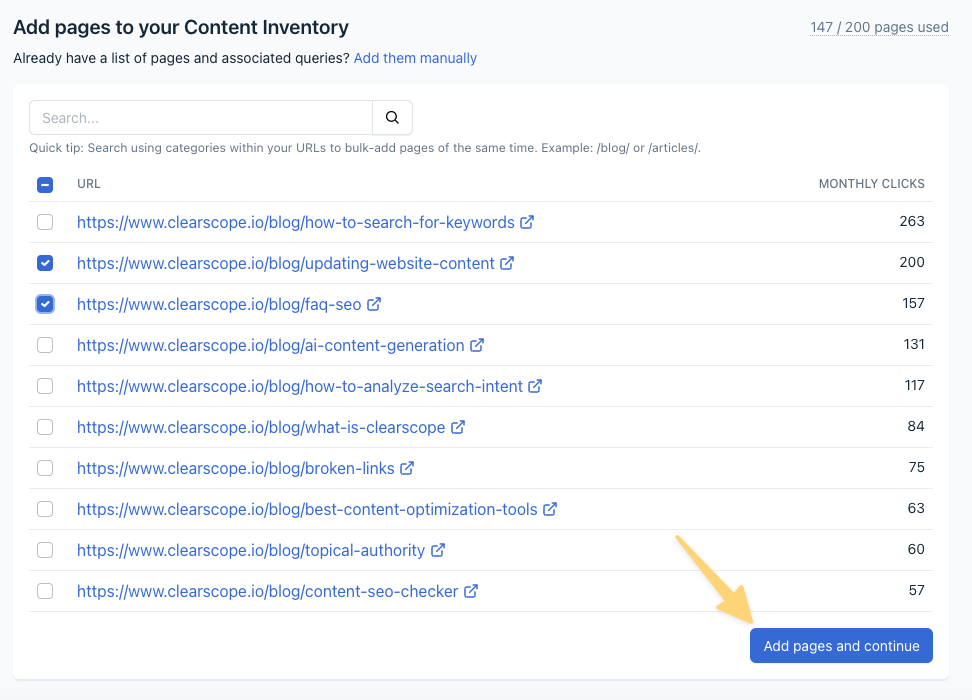
5. You will be brought to the Add pages screen where you can add the page URLs that you want to monitor.
There are two options for adding pages:
A “bulk add” option that allows you to auto-import pages from your site. You may later add monitored queries to each page from the Content Inventory.
A “manual add” option where you can include individual page URLs and your chosen monitored queries for that page at the same time if you already have a list of pages and associated queries.
For the auto-import feature:
Select the pages you’d like to add from the listing.
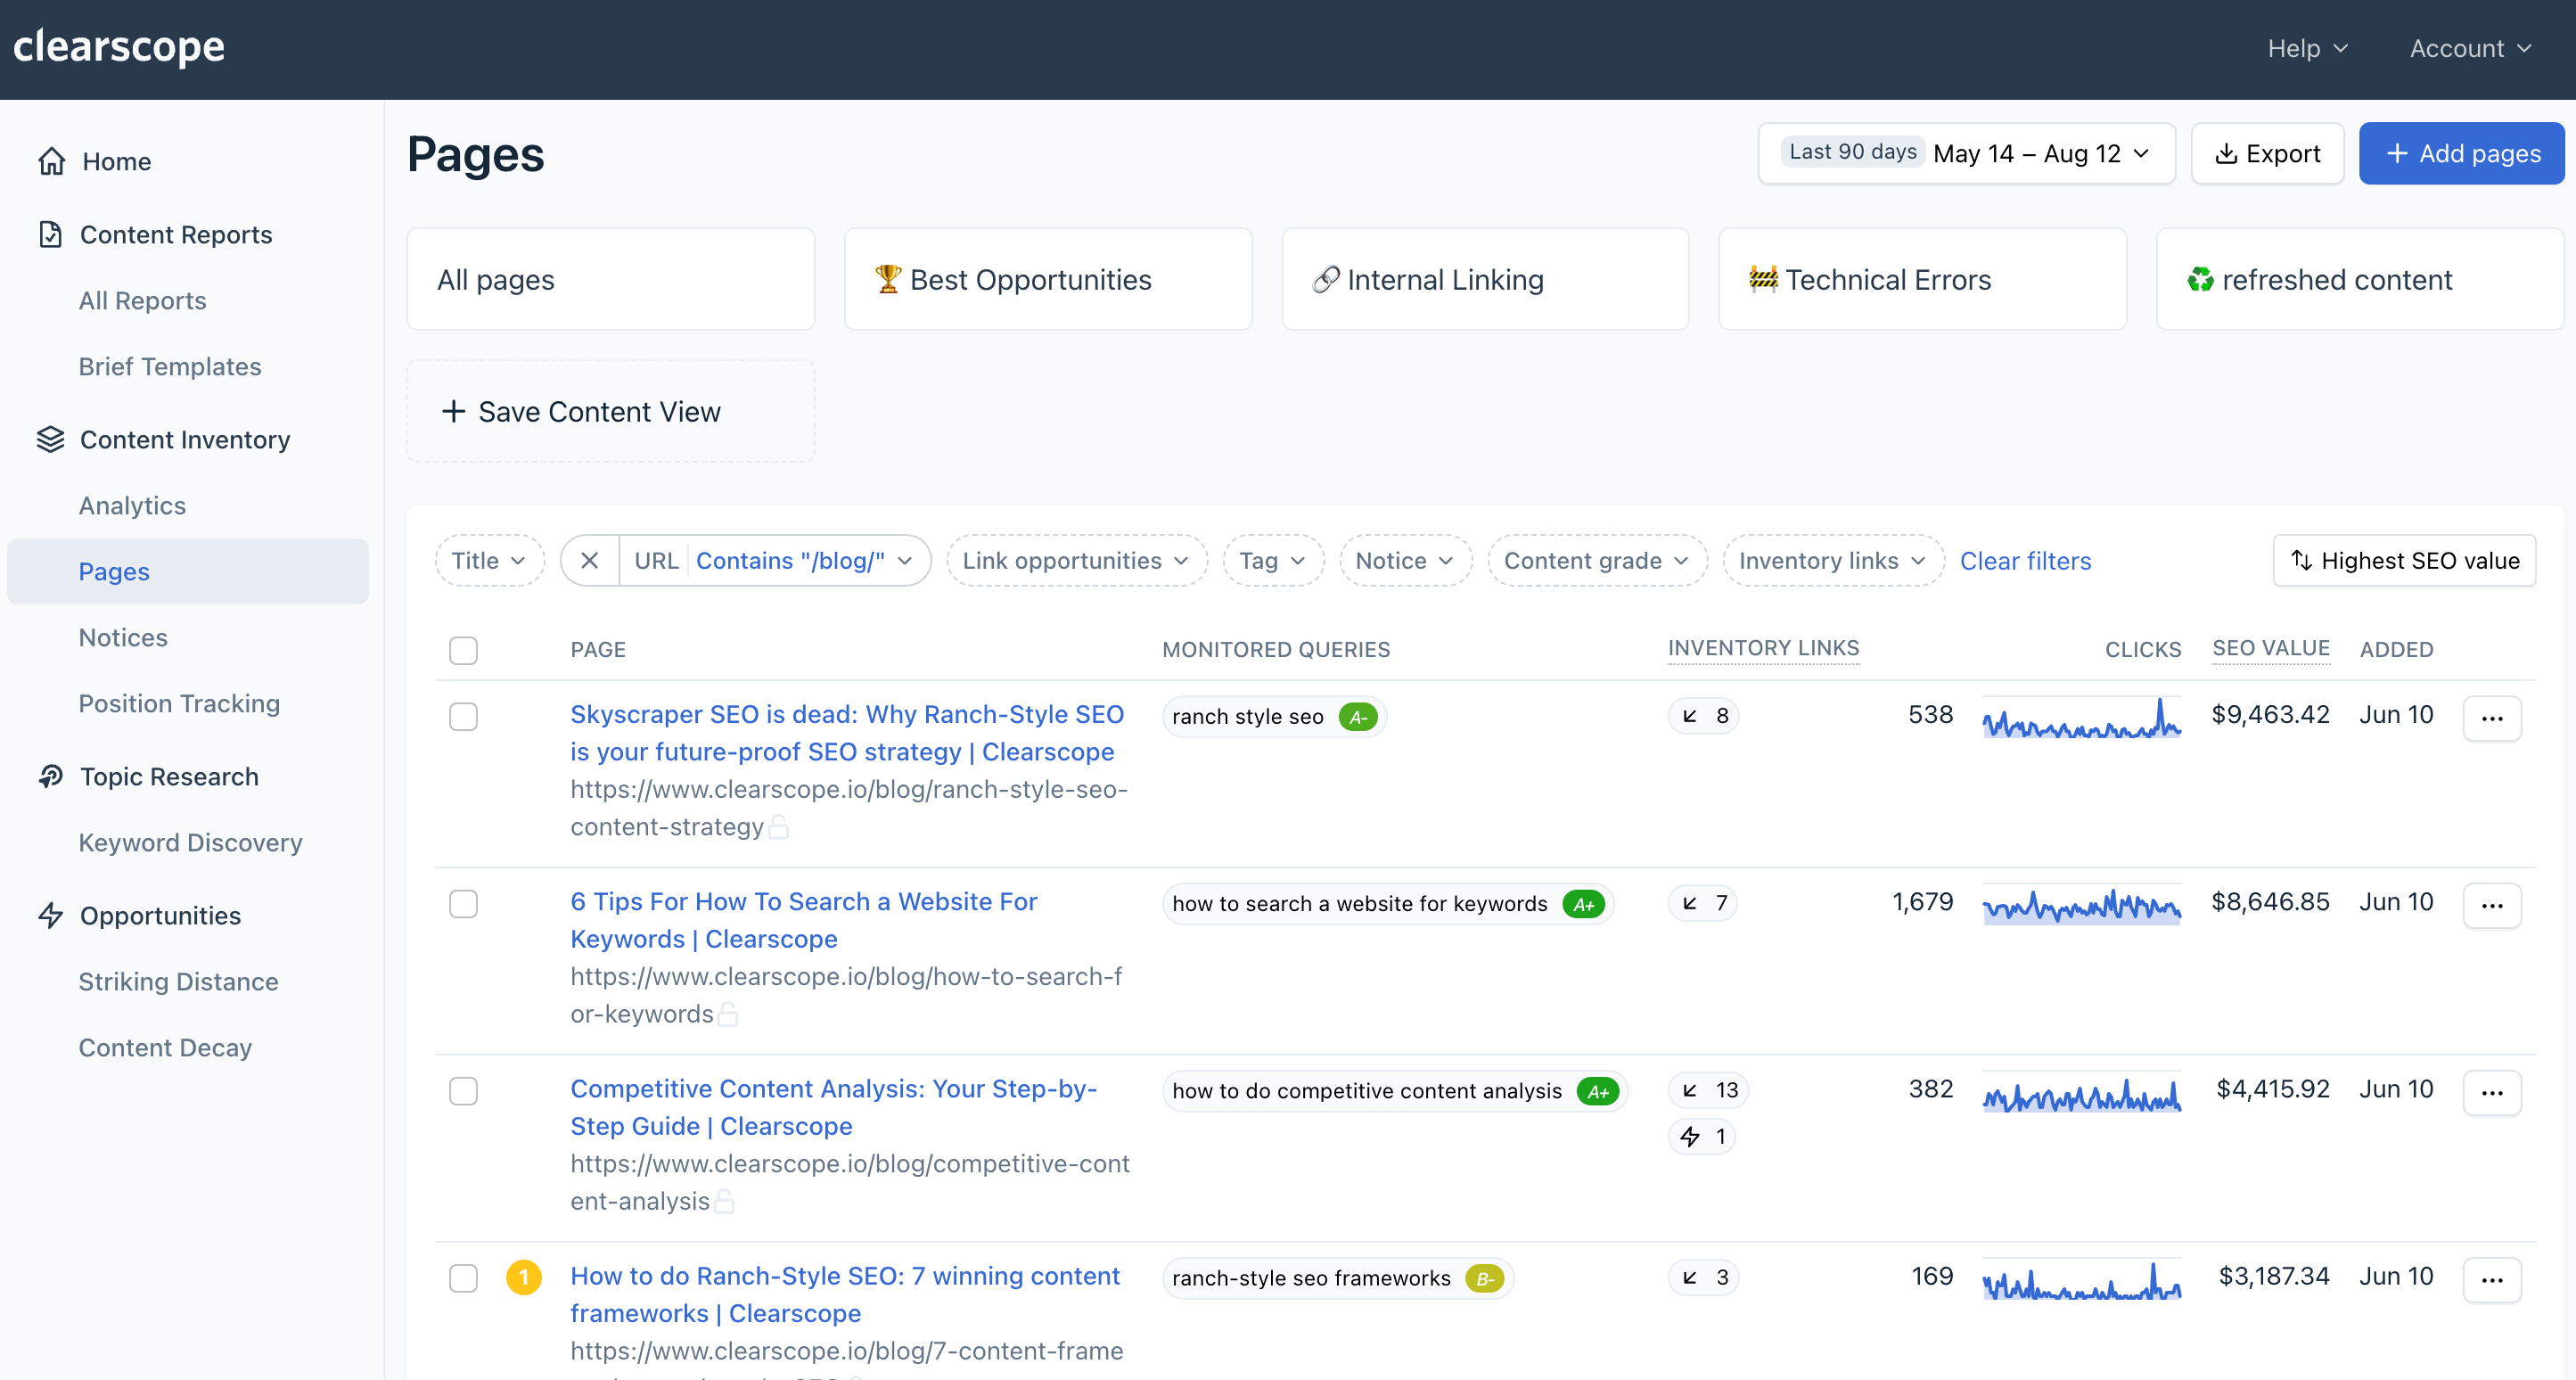
You can use the Search feature to search for specific categories within your URLs to bulk-add pages of the same type. Examples could include /blog/ or /articles/.
When you’ve selected all the pages you’d like to include, click the Add pages and continue button.
Click on “Go to content inventory” and watch your Content Inventory get set up.
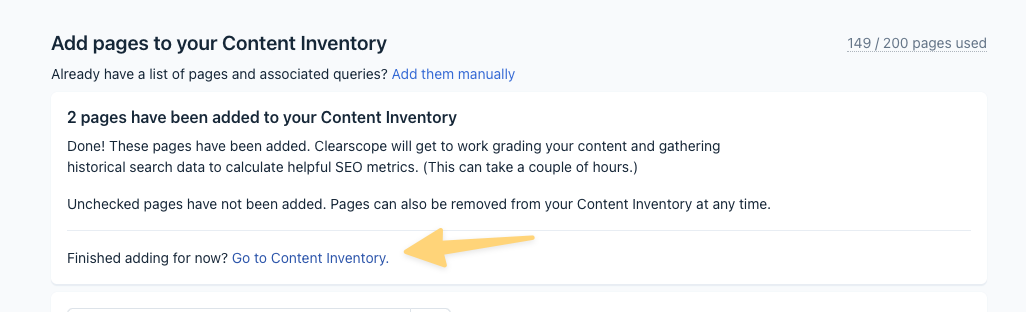
During this step, Clearscope automatically selects the best fit SEO keyword for pages added to your Content Inventory. And we grab all kinds of other metrics associated with each page including internal linking suggestions, clicks, SEO value, and more. Keep in mind, this set up process can take up to half an hour to complete since we scrape all the data in real-time.
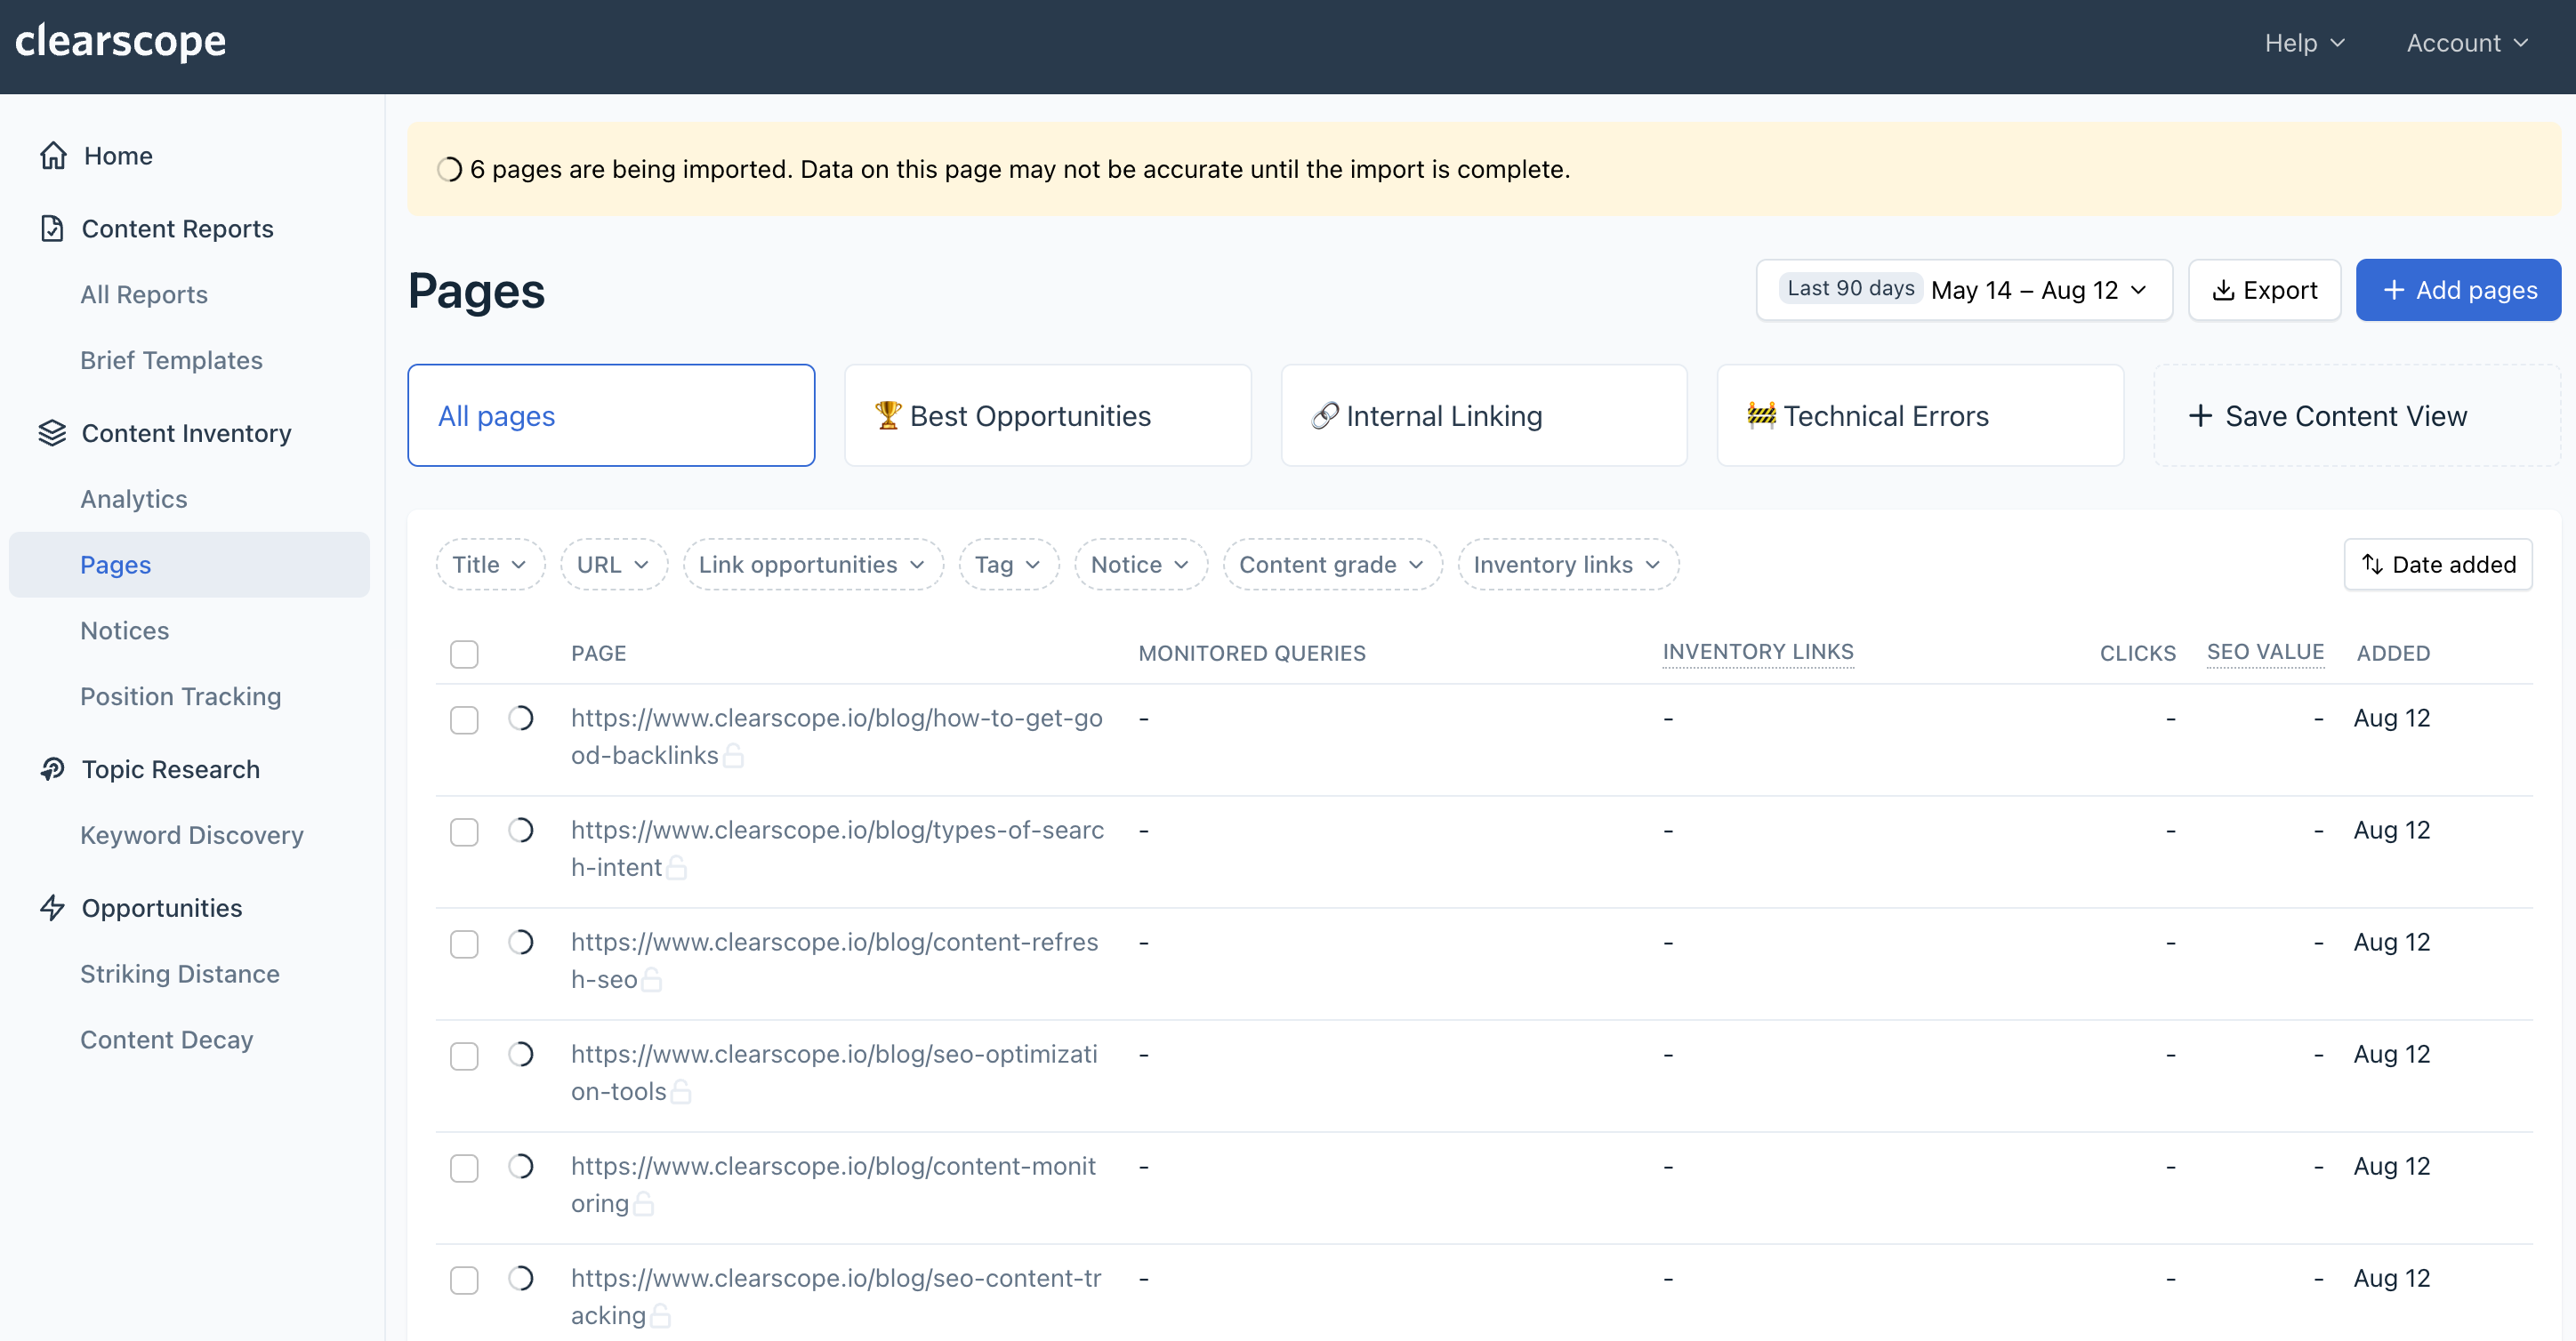
6. You will then return to the Content Inventory Pages screen. Here, you'll see URLs start to populate with information such as Content Grade, clicks, Inventory Links, and SEO Value.
Note: It can take up to 30 mins for Clearscope for all metrics to show up on your Content Inventory table.
7. Moving forward, whenever you or someone on your team publishes a new piece of content, you can add that URL to your Content Inventory using the same method as described above.